Early rehabilitation can begin as soon as the injury has occurred, at the same time as the PRICE activities. At this stage the ankle will still be painful, and possibly swollen and bruised.
This early stage lasts until the swelling, bruising and pain in the ankle is no longer increasing and is starting to reduce. This can take up to three days and sometimes up to 5 days, depending on how severe the sprain is.
You should continue to apply ice and compression between exercises, and wear a brace and/or compression bandage during all exercises, in this early stage, using the protocol for icing detailed on the immediate treatment page.
If you are getting increased swelling and pain during or after exercise, it means you are working a bit too hard at your rehabilitation and are doing more damage than good. Ease off a bit, apply some ice and carry on the next day or next session if the swelling and pain has gone down again.
The exercises are intended to maintain and return range of motion to the ankle and maintain the strength in the muscles around the ankle. There is evidence that movement in the pain-free range, in the first week post-injury, can speed up recovery, when compared to more traditional immobilisation of the ankle with plaster casts or solid foot and ankle braces.
NB: you should only be moving the foot up and down at the moment, NOT moving to turn the sole of the foot inwards (inversion) or out (eversion) as the ligaments controlling inversion are the ones strained and:
a) will be very weak at the moment and will not be able to keep the ankle joint within a safe range of movement, as is their normal job,
b) will likely be much too painful to perform, and cause more damage at this stage!
There are four elements to early rehabilitation: Passive range of motion, Active range of motion, partial weight bearing, and Isometric strength training (explained below).
Passive and Active Range of Motion
All these exercises can be held for 15-30 seconds, with 10 repetitions, 3-5 times/day

|
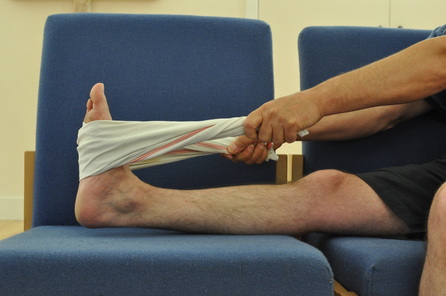
This is a passive range of motion stretch, designed to stretch the achilles tendon (or heelcord) on the back of the ankle, and so maintain the length of the tendon and calf muscles, which can shorten with disuse of the injured ankle.
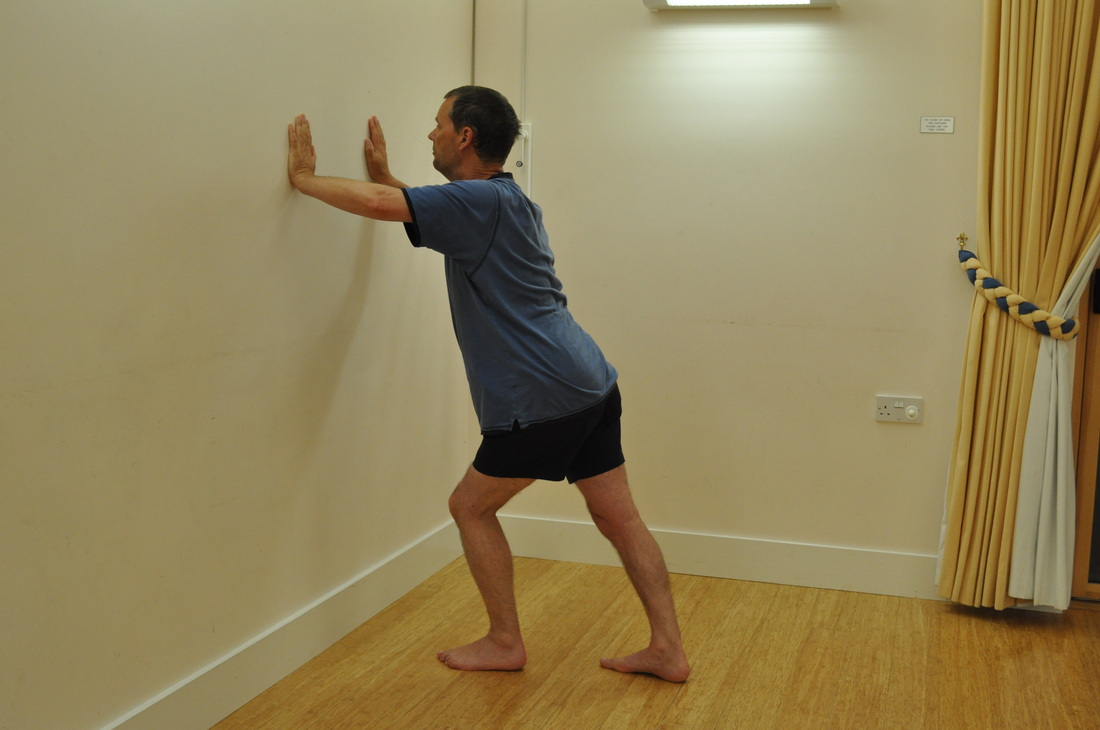
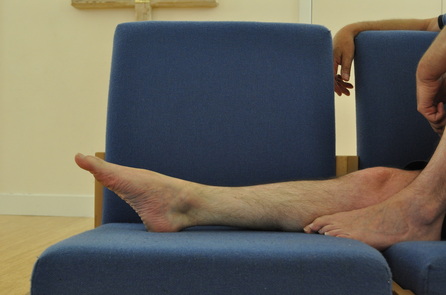
You should use a towel to pull the foot towards you, as far as you can without causing pain. If you can put weight through the injured ankle, you can passively stretch the achilles tendon whilst standing up, as seen on the left. Perform a slight lunge, with the injured leg behind, with most of your weight through the uninjured leg and some through your arms onto the wall. Have some of your weight on the injured ankle and foot, without causing yourself pain. Gently lean forwards, keeping your back heel on the floor to stretch the back of your calf and help your foot regain some of its upwards motion (dorsiflexion). This is an active motion of the foot upwards towards your face (dorsiflexion again). It is active in that you use the muscles around the ankle instead of pulling with a towel or using your body weight. Do not cause any extra pain in the ankle, start with a little movement and work towards normal ranges of movement (as seen in picture). Again, try holding for 10-15 seconds in groups of 10 repetitions. Working from 3 sets per day, or less if you cannot manage this, up to 5 sets a day. Active motion, pushing the toes away from you (plantarflexion). Like before, start easy, don't cause any extra pain and try for the sets and repetitions as above. |
Partial weight bearing with crutches
|
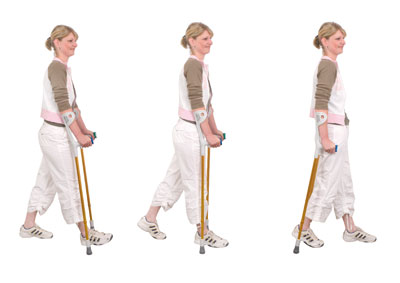
It is important to get the foot and ankle going through the motions of normal walking as soon as possible, as much as pain allows.
If you have been given crutches this can easily be done by using the crutches to take most of the weight when you put your injured foot down in walking around. Try to go through as much of the range of movement as you can without causing pain, from heel-strike (first image on left), through a flat foot with minimal -to- moderate weight as pain allows, through to 'toe-off' behind you where the heels leaves the floor first and the toes bend and are the last part to leave the floor. |
Isometric strengthening exercises
Isometric simply means 'without movement'. Therefore in these exercises you will be tensing the muscles around the ankle that make the foot move up towards you (dorsiflexion), down (plantarflexion), in (inversion) and out (eversion), but will be bracing the foot and ankle so that no movement actually occurs. This method allows muscles to maintain their strength without moving the ankle, which might cause pain at this time.
Once again, you should not cause yourself any pain when performing these exercises. If you find pain or aching during or after these exercises, you can ice the foot during the exercises or afterwards, using the 10min on, 10 min off, 10 min on again protocol suggested in the immediate treatment section.
You can aim for holding each static strengthening exercise for 5-10 seconds each, and aim for 5-10 repetitions per set, 3-5 times per day.
The exercises can be done using a range of methods to stop the injured foot moving; you will see in the slideshow below that you can use your own feet, a wall, or if you are working with a physiotherapist or sports therapist, or have someone else to help you exercise, they can use their hands.
